Hi Everyone!
I haven’t crafted this weekend – but I’ve done a lot of organizing. The rest of my Copics arrived on Friday, as well as an Amazon order for some sheet protectors – which I have been waiting for to revamp my storage of my scraps. So I wanted to share with you how I did this. I got this idea from Carissa Wiley. You can see it in her video here. She stores her paper in magazine holders like I used to store mine. My magazine holders here are handmade using USPS boxes, cut down and covered with postal wrapping paper (is that what you call it?) Here’s a picture of how I used to store my paper:
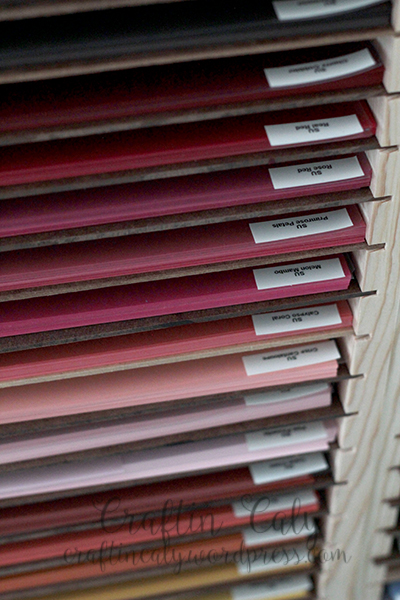
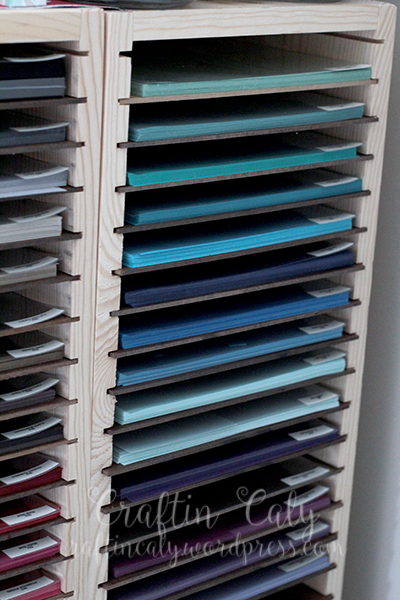
 I now store my paper horizontally in two tall units that my husband built for me. I was perfectly happy with how it was stored before, but my husband had an itch to build – so I let him – and I’m happy with how it turned out :). As far as scraps go, I’ve always stored them in a plastic file box, separated by file folders. But I saw Carissa Wiley’s paper organization video and I thought it was genius to use sheet protectors to store scraps – why hadn’t I thought of that?!? I kept trying to think of how I could store my scraps with my full sheets and this is it!
Here is how it looked before yesterday. It was ugly – and took up extra space in my craftroom that I didn’t care for:
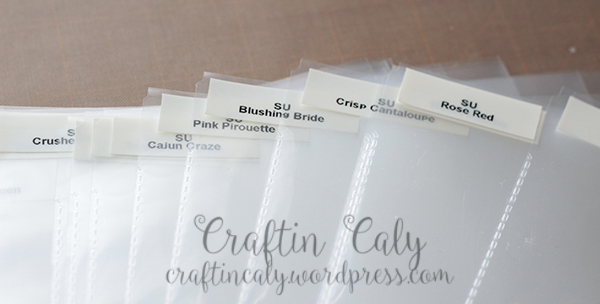
 I purchased some heavy weight sheet protectors (see them here) and cut the 3 ring portion off them as seen here:
 Then I used my Dymo Label Maker to make labels for each cardstock color for each sheet protector:
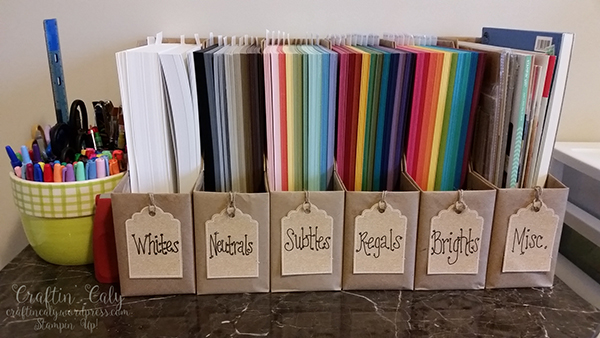
 And now, each compartment holding full sheets has a sheet protector holding scraps of the same color. This is also nice because it’s now labeled – I used to have a sticky note at the bottom of each cardstock pile with the names of the colors, but I couldn’t see it.
 Now my file box holds receipts – orders from SU and other stores and is hidden away in the closet :).
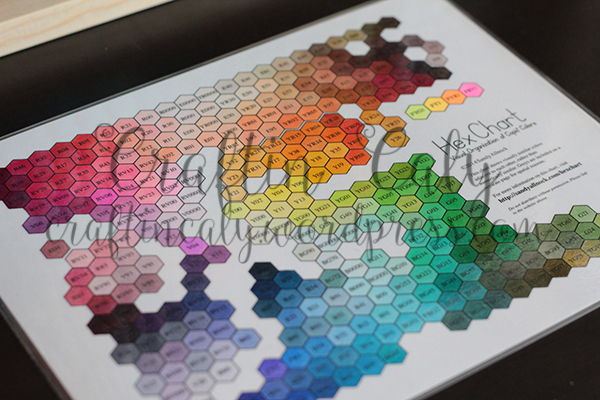
Who is ready for Copics??? I wrote about the storage unit my husband built here and about my decision to get ALL the Copics and where I got them here. It’s a HUGE decision and I wish everyone the best of luck with their decision to starting a Copic collection – it took me months of thought, contemplation and waiting, but it’s finally all here and I’m so excited to share what it looks like. I explained previously that I purchased Sandy Allnock’s Hex Chart “designed to show the visual color relationship between Copic marker colors.” You get two PDF files – one hex chart that is blank – for you to color using your own Copics – and one colored by Sandy to see all the colors compared to what you have so you can decide if you need to buy additional colors to compliment what you already have. This chart is so helpful visually – as the Copic numbering system and the colors on the Copic Sketch plastic caps are not always true to their ink color. Here is a picture of my colored Hex Chart, which I have colored and laminated (I had to run them through the laminator several times to get a seal all the way around- there are two sheets – a second sheet for grays).
 When I went to fill up my storage unit, I had a hard time deciding how I wanted to put my markers in – try to mimic this hex chart or to store by color families as organized on Copic’s colorwheel:
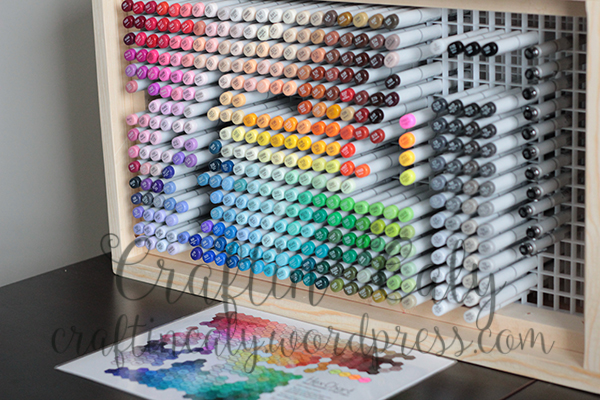
 I didn’t have enough rows on my storage unit to follow the Hex Chart to a tee – but I did a little cramming and re-arranging and in the end, I think it turned out pretty well:
 There’s plenty of space left if new colors become available. I have my Multiliner SP Pens stored to the right.
***Deep breath*** I’m so glad this process is over. I’ve spent too much time thinking about it, planning it, and way too much money on it! I don’t know how other crafters begin with a few pens here and there – I would have too much anxiety thinking about it all the time. But I know they’re pricey so I get that this is how some people have to begin. Fortunately, working overtime for 7 months gave me some playing money. At least – that is how I’ve justified this purchase.
I need to do more coloring very soon. Stay tuned!
 UPDATE:
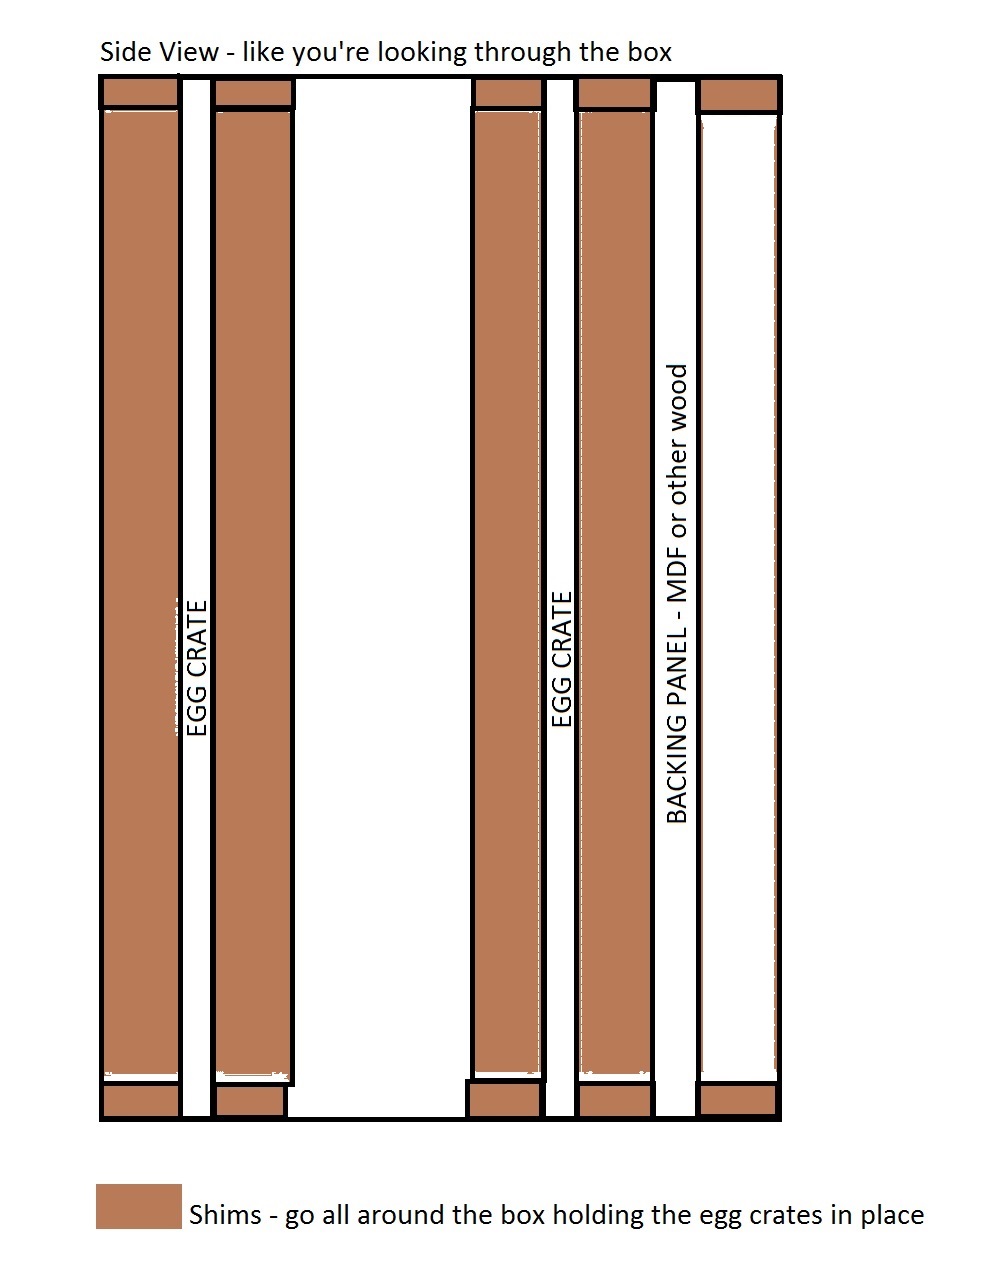
I’ve received a lot good feedback and along with that, a lot of questions about this unit so I wanted to post a little update to talk a bit about the dimensions and how to make it. As I mentioned, my unit doesn’t have enough rows to mimic the Hex Chart. If I were to do it ALL over again, I would’ve counted the number of rows and columns on the Hex Chart first. But I think the building process would’ve remained the same.


Where did you get the square slots for your markers??
LikeLike
They’re egg crates from the hardware store. Used for lighting in offices.
LikeLiked by 1 person
Hi Carly,
I came for directions for your lovely faceted boxes that my girlfriend KIM shared with me, wrote directions for livelivecards.com, wanted to see what you were up to with Copics (Sandy Allnock is my hero) as I also use the Hex chart and have subscribed to get more fun from your site!
May you and your hubby continue to enjoy your creative spaces!
Vicki
LikeLiked by 1 person
So glad you found me, Vicki! Thanks for your sweet comment!
LikeLike
LOVE your copic storage, I’ve been reading the instructions you provided but they don’t make sense to me, do you think you can give me some more directions or even pictures ? thanks so much !
LikeLiked by 1 person
Hi Danny! Sorry for the confusing instructions. I’ve edited it to try to make it easier to understand. If you still have questions or want photos-please email me at craftincaly@gmail.com and I’ll send you some! Happy holidays to you!
LikeLike